

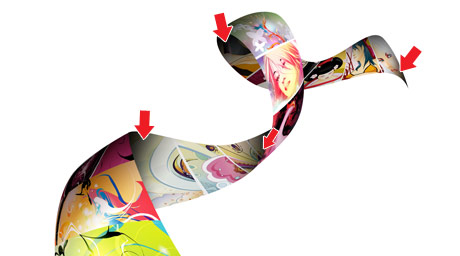
The warp tool will be used to create the twisting effect (so, you need Photoshop CS2 or above to complete this tutorial). With the completion of this tutorial, you will be able build a photo strip with your own photos or artwork. Don’t miss out this fantastic feature!
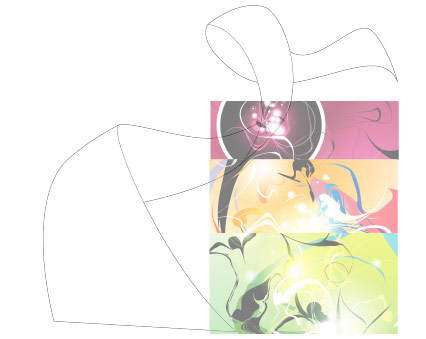
1. Create a Strip (Vector Shapes)
First, create a strip with the Pen tool (either in Photoshop or Illustrator). We will use these shapes as a guideline and for masking purposes.

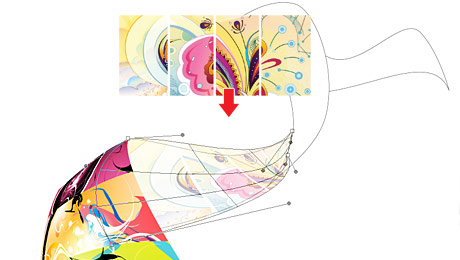
2. Photo Stack
Choose 3 photos of your choice and stack them together.
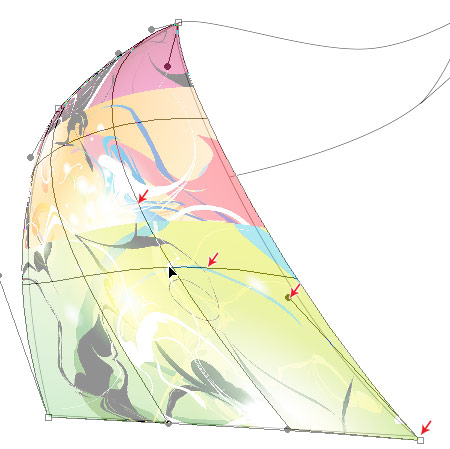
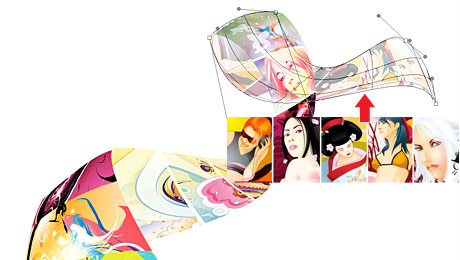
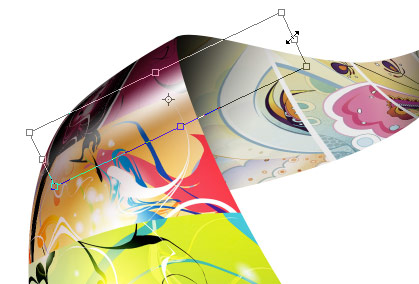
3. Warping (Photoshop Warp Tool)
Adjust the layer opacity to 40 or 50% so you can see the guideline underneath. Go to Edit > Transform > Warp. Now you should see a grid and 4 anchor points in the corner. To bending the image, simply drag the anchor points, direction points, or grid lines.
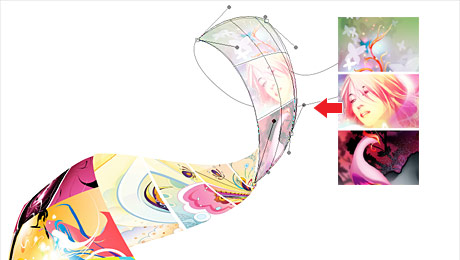
Repeat this step for the rest of the strip. Since this step is relatively simple and repeatitive, I’m not going to get into the details. Here are the screenshots of the steps:
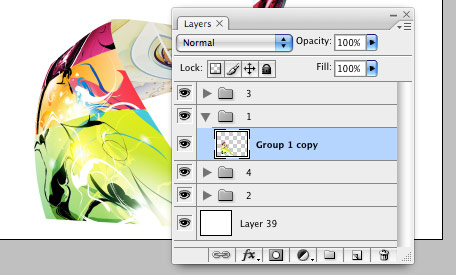
4. Masking
Organize the layers into groups (ie. strip 1, 2, 3, 4).
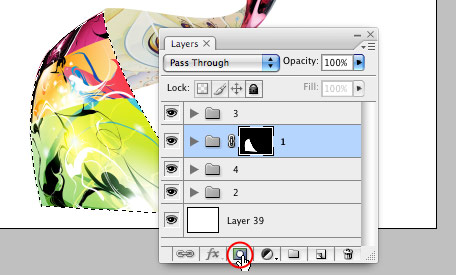
Load selection from the shapes you created in step 1 and add a layer mask for each group (so you get a perfect smooth curve).
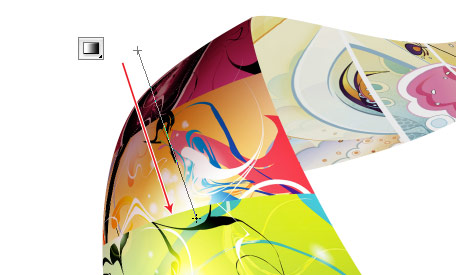
5. Shadows
In masked group 1, create a new layer above the strip. Use the Gradient tool and drag from the top to bottom to create a black gradient.
Repeat this step for the other strips.
6. Highlights
To make highlighted and glossy areas: create a round glowing circle, compress it, and rotate it in the angle according to your strip’s direction.
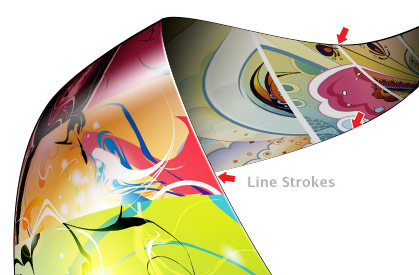
7. Line Strokes
To make line strokes: load a selection of the mask, create a new layer, fill it with black, shift the selection to the left by 1 or 2 pixels, delete the selected area by pressing the Delete key.
8. Final Touches
To make the image look more interesting, desaturated the two strips in the back.


9 comments:
cool tutorial..bleh cuba ni..
gilak cun!
to eira,
hehehe... try tau... jgn x try plak... hehehe...
to luth textile,
hehehe... try la yek...
giler babun hebat
nur, sy copy outline curve yg nur buat tu tp ble bukak kat PS, xley wtpe..leh view je
This answer is B. I just want share knowledge alone... not present intention to sell this tutorial.. Any even I apologize, if some feel heart...
Nur... klu Nur nye sentuhan mmg cun gilerr... tahniah Nur.. smoga nur lebih sukses dlm bidang design ni dan pergi lebih jauh lagi... :)
Post a Comment